How to execute device programming in Programming Station
Currently, the Programming Station client is available only on Windows.
This article will guide you on how to use the Programming Station client to execute device programming.
Prerequisites
Before getting started, please ensure that you can sign in to the Programming Station client.
Instructions
-
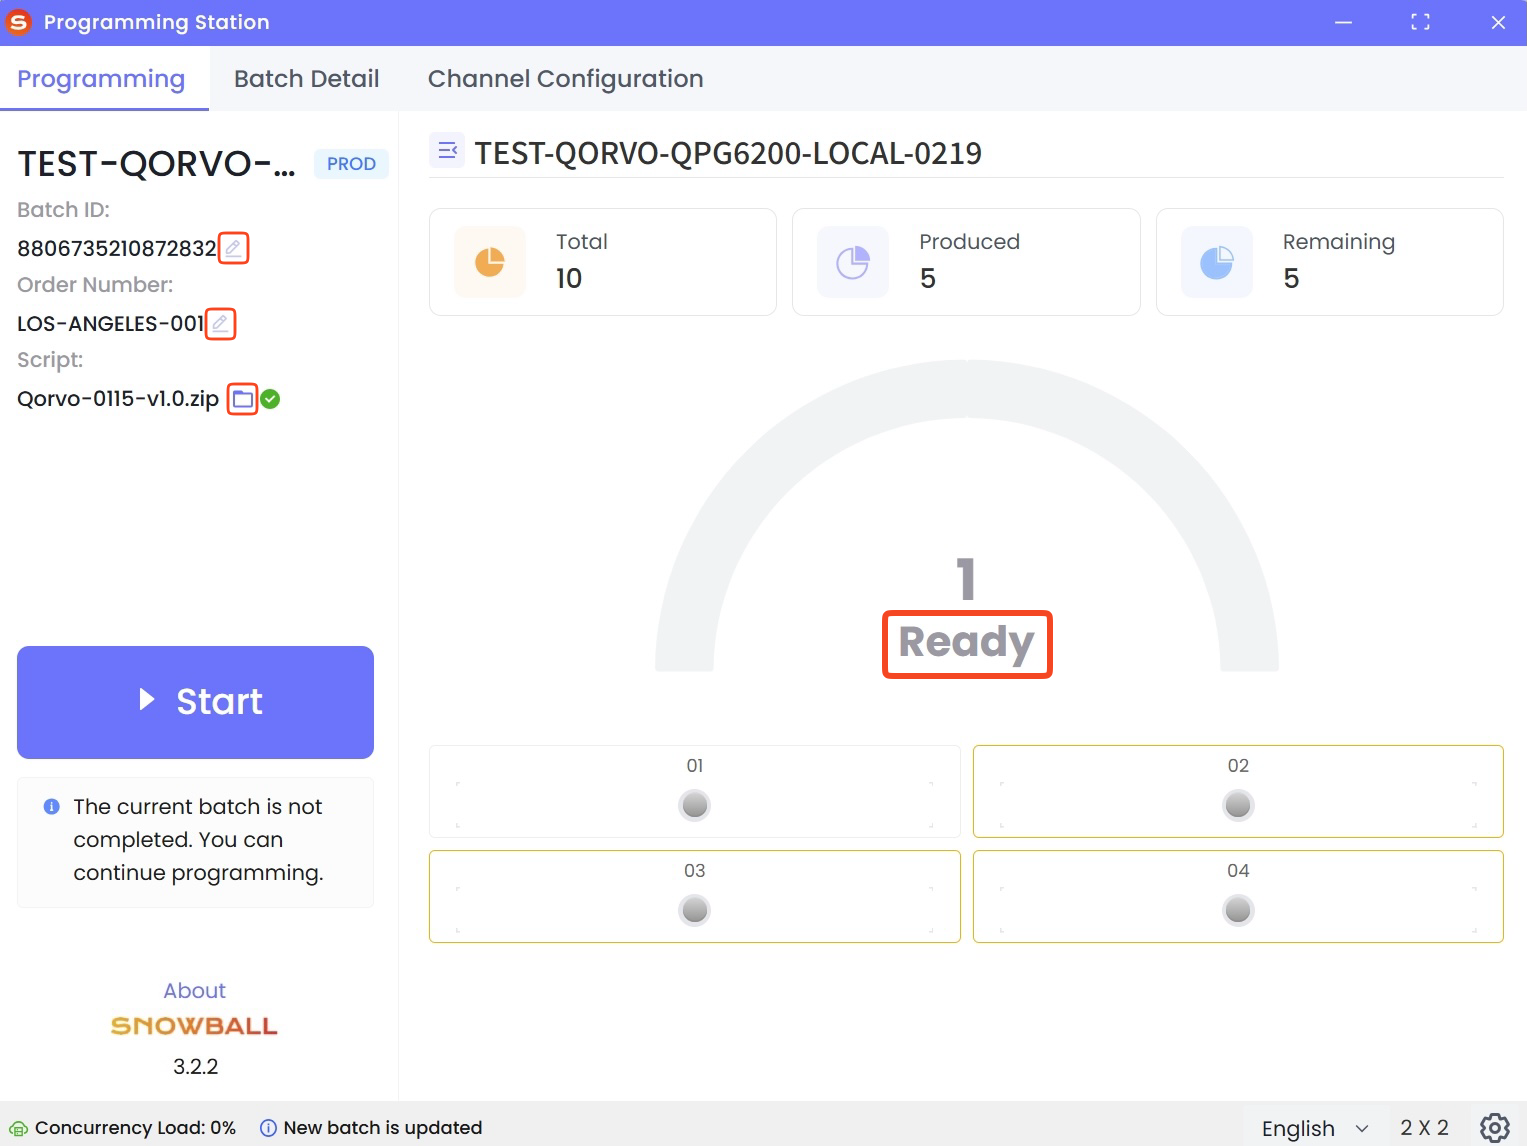
Sign in to the Programming Station client, and then verify that the device status is Ready.
tipIf the programming script is not selected when creating a batch, or if you want to select a different programming script, you can click the Folder
 icon to select the required programming script (any script format is supported). Additionally, you can click the Settings
 icon in the bottom-right corner and select Script Download Path to customize the default script download path.
If the programming station is not yet assigned to a batch:
- Click the Edit
 icon to the right of the Batch ID area, then enter the batch ID to retrieve the corresponding batch information.
- Click the Edit icon to the right of the Order Number area, enter the order number, and then select the associated batch name to retrieve the corresponding batch information.
- Click the Edit
-
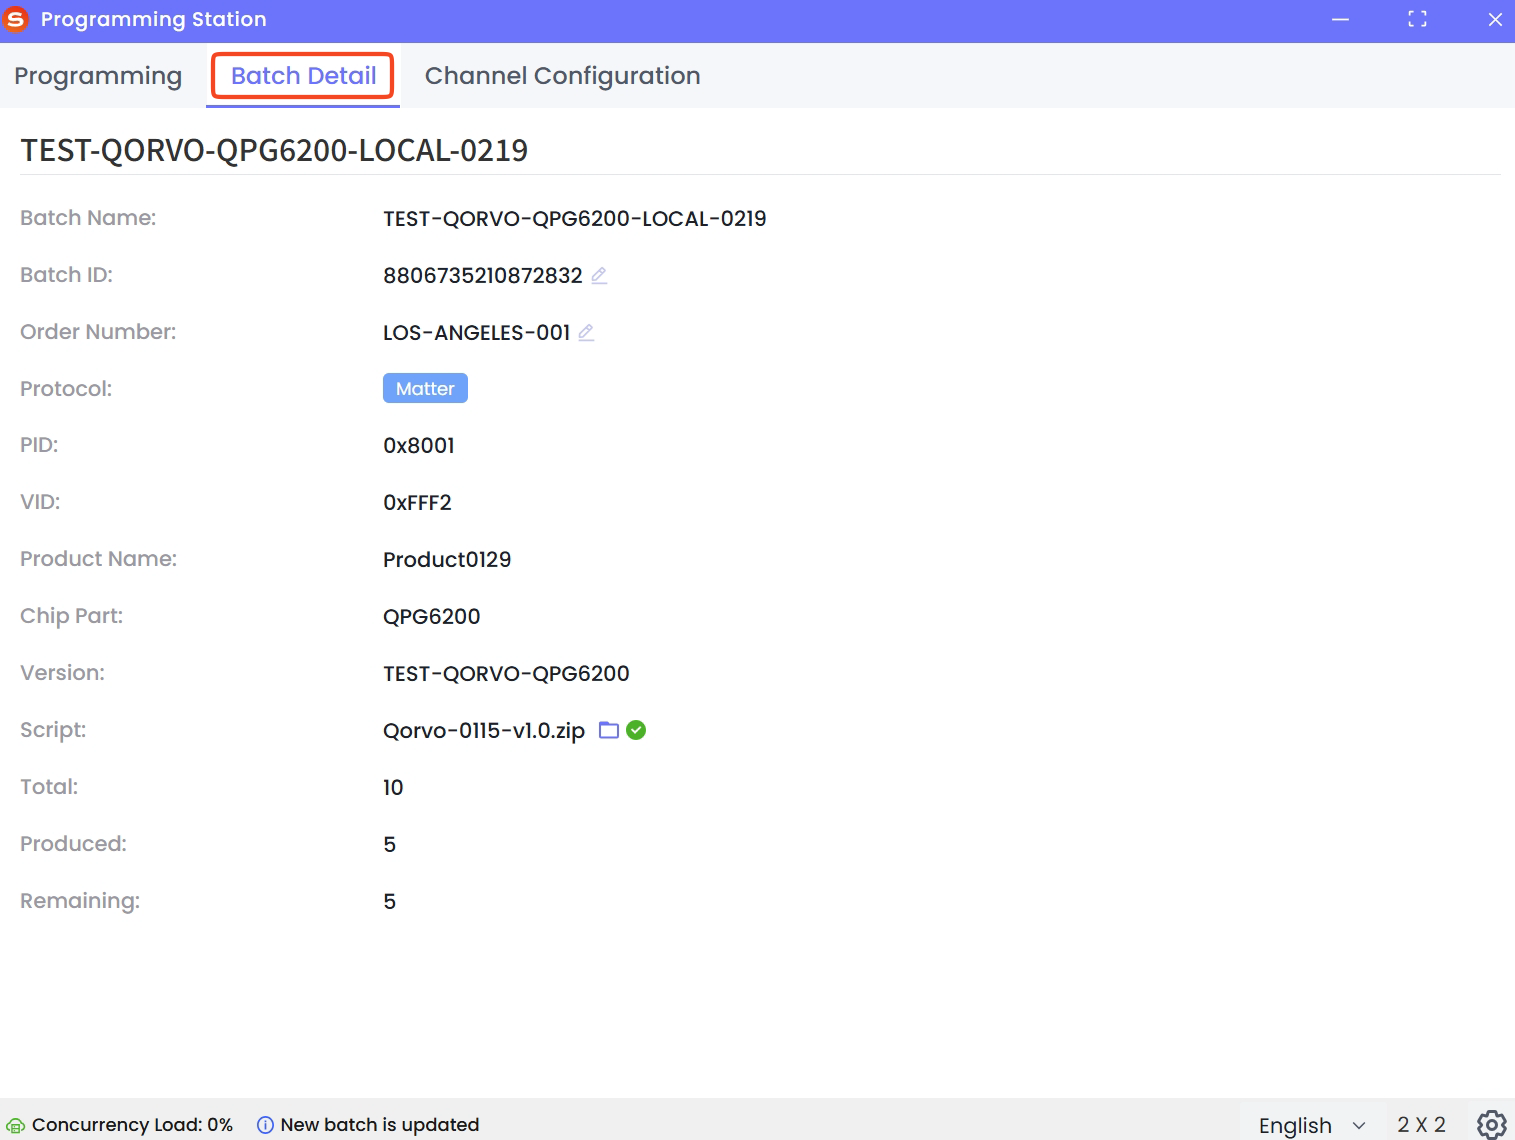
On the Batch Detail tab, you can check batch-related information (such as Protocol, VID, and PID).
-
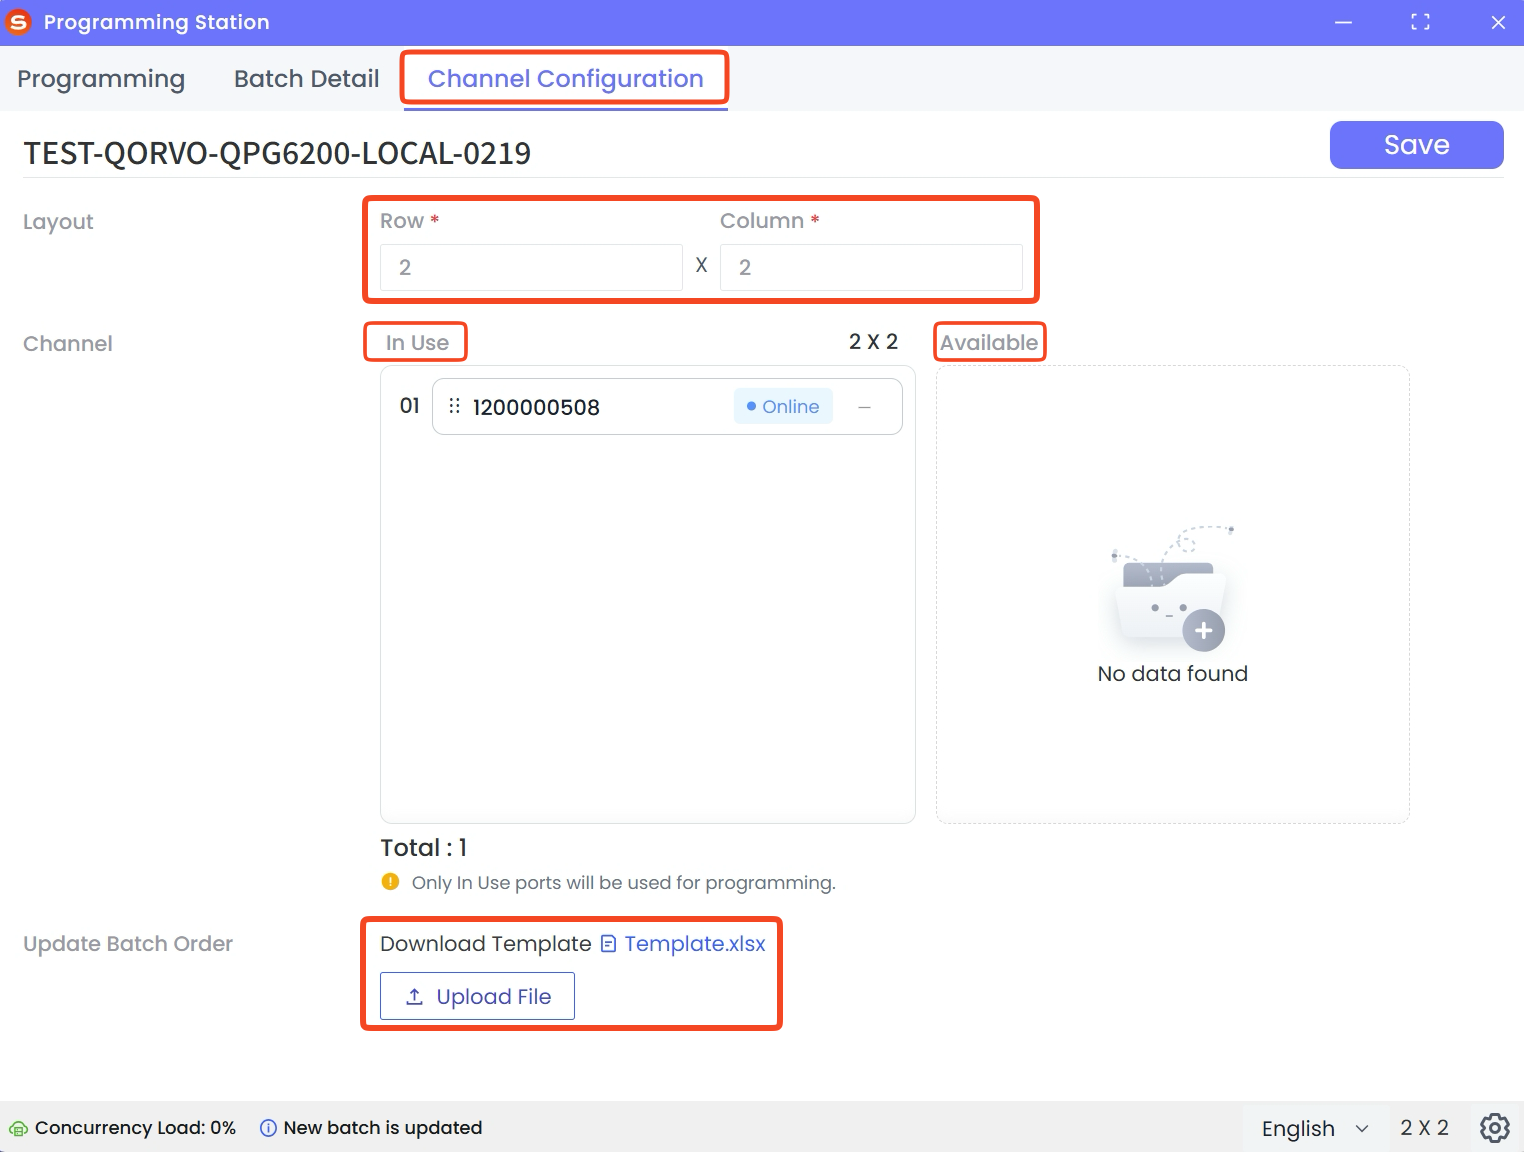
In the main window, select the Channel Configuration tab and then set the number of programmer connections in the Layout area as needed.
tipThe number of connections determines how many devices can be programmed simultaneously. The system currently supports a number of connections based on the product of rows and columns in the layout area, which must satisfy the following conditions:
- Both rows and columns must be integers.
- Rows × Columns ≤ 24.
- Neither rows nor columns may exceed 16.
- If the number of rows exceeds 4, the number of columns can only be 1 or 2.
Ports can be dragged and reordered between the In Use and Available ports, or you can update the order by downloading and modifying the Excel template (Template.xlsx) and then uploading it. Changes take effect after uploading.
-
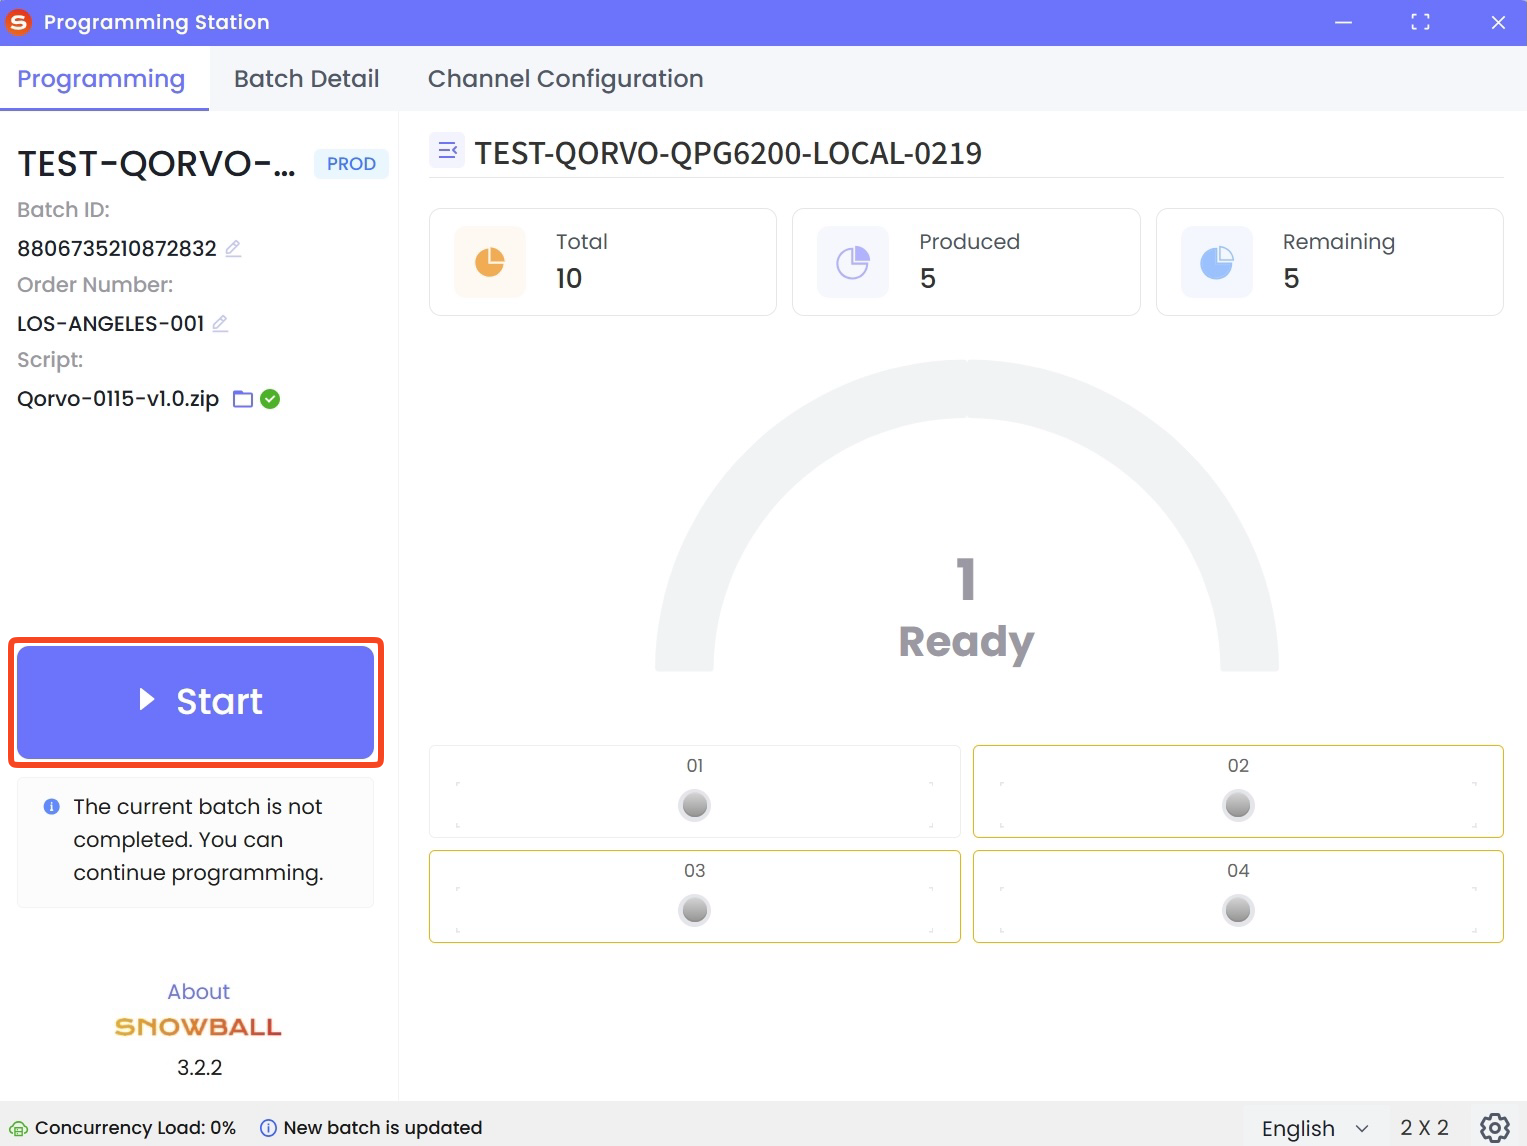
After verifying that the information is correct, click Start in the main window to execute device programming.
tipThe Concurrency Load displayed in the bottom-left corner of the client indicates the server load when multiple programming stations are simultaneously programming:
-
Load ≥ 90%:
- Message: "Concurrency limit nearly reached. Please contact the factory administrator to check the server".
- You can continue programming.
-
Load = 100%:
- Message: "Concurrency limit reached. Please contact the factory administrator to check the server".
- You can continue programming.
During programming, switching to the Channel Configuration tab is not allowed.
-
-
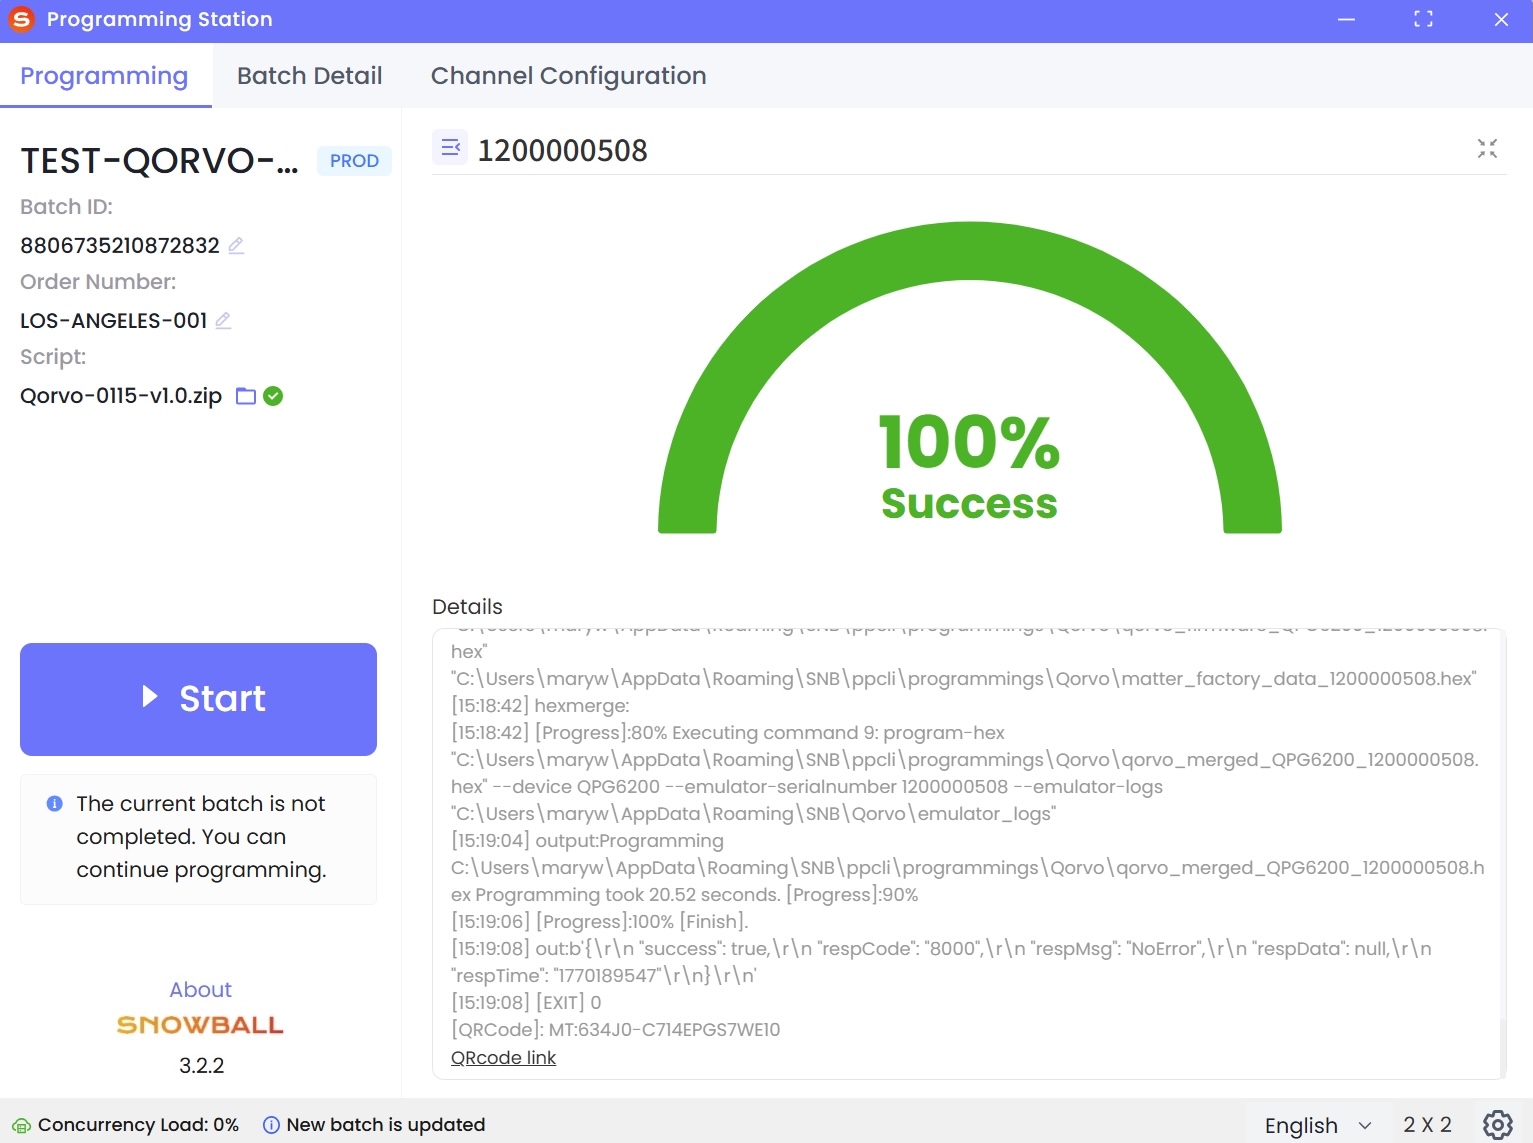
After programming is completed, click the corresponding port to check the device programming details.
tipYou can also check the device profile and related log information in OnBoard™ IoT Security (OBIS).

 Download User Manual